Installation of Ceramic Floor Tiles That Will Last For Years: A Comprehensive Guide

After buying ceramic tiles, you next have to get it installed. Thankfully, this is something that you can do yourself, provided that you know how. Properly installed ceramic tile will last for years – possibly even decades. This makes it all the more crucial that you go through every step of the process correctly. Good thing ceramic tile dallas has broken down the steps for you here.
Start By Prepping the Floor
This step starts with a flat, even subfloor. Anything else can cause the tiles to crack. Your subfloor must also be thick enough to support the weight of the tiles. If you can, beef up your subfloor until it’s 1 and 1/8 inches thick. This ensures that it’s strong enough to handle the tiles. Once you’re sure that your subfloor is strong enough, go over it with a level, looking for low spots or sloping. You’ll have to correct these before you begin the installation process.
Measure Twice, Cut Once
You’ve probably heard this old adage – and it’s very true. Always measure your tiles twice before cutting them down to size. However, before you even reach this step, you need to make sure that you have enough tiles to handle the job. Measure your floor in all directions and do some quick calculations. Once you have all of the tiles, it’s time to find the center of the floor. You’ll begin laying out the tiles there, working outwards. This way, you won’t have to cut any until you get to the edges.

Figure Out The Overall Layout
You want your tile floor to be as asymmetrical as possible. This is made easier if you choose tiles that are all uniform in design, such as full square mosaics. However, if you want a layout that consists of black and white tiles that alternate in color, or any other slightly more complicated design, then you’ll need to lay them out on the floor beforehand. This gives you a chance to change the layout to something more pleasing before you start actually adhering the tiles to the floor.
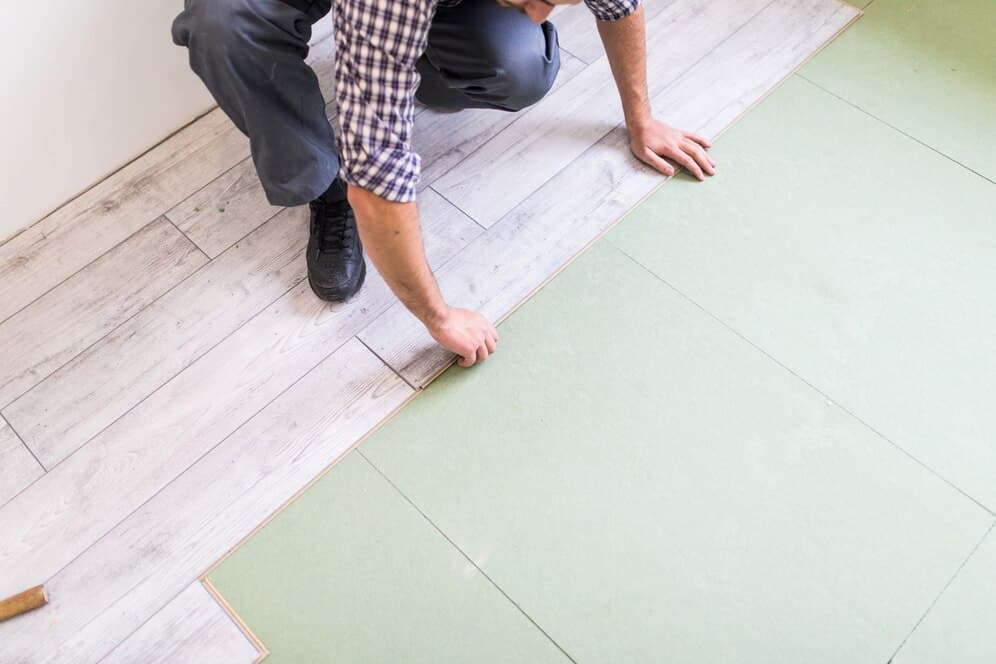
Spread Out Your Mortar And Complete the Job
In order to adhere the tiles to the floor, you’ll have to use a thin-set mortar. Spread a thin, even layer of it on the floor and begin laying your tiles in place. Press on them lightly to ensure that they are glued down properly. It’s best to work on this in small sections, starting at the center of the floor. The mortar is designed to dry quickly, and you don’t want to end up with thick layers in certain sections where you had to add more, because it dried. After all of the ceramic tiles has been laid down, let the mortar sit for the appropriate period of time (this will be on the package) before beginning to apply the grout. The grout goes between the tiles and further anchors them in place. It’s also the final touch that your new floor needs.


Post Comment
You must be logged in to post a comment.