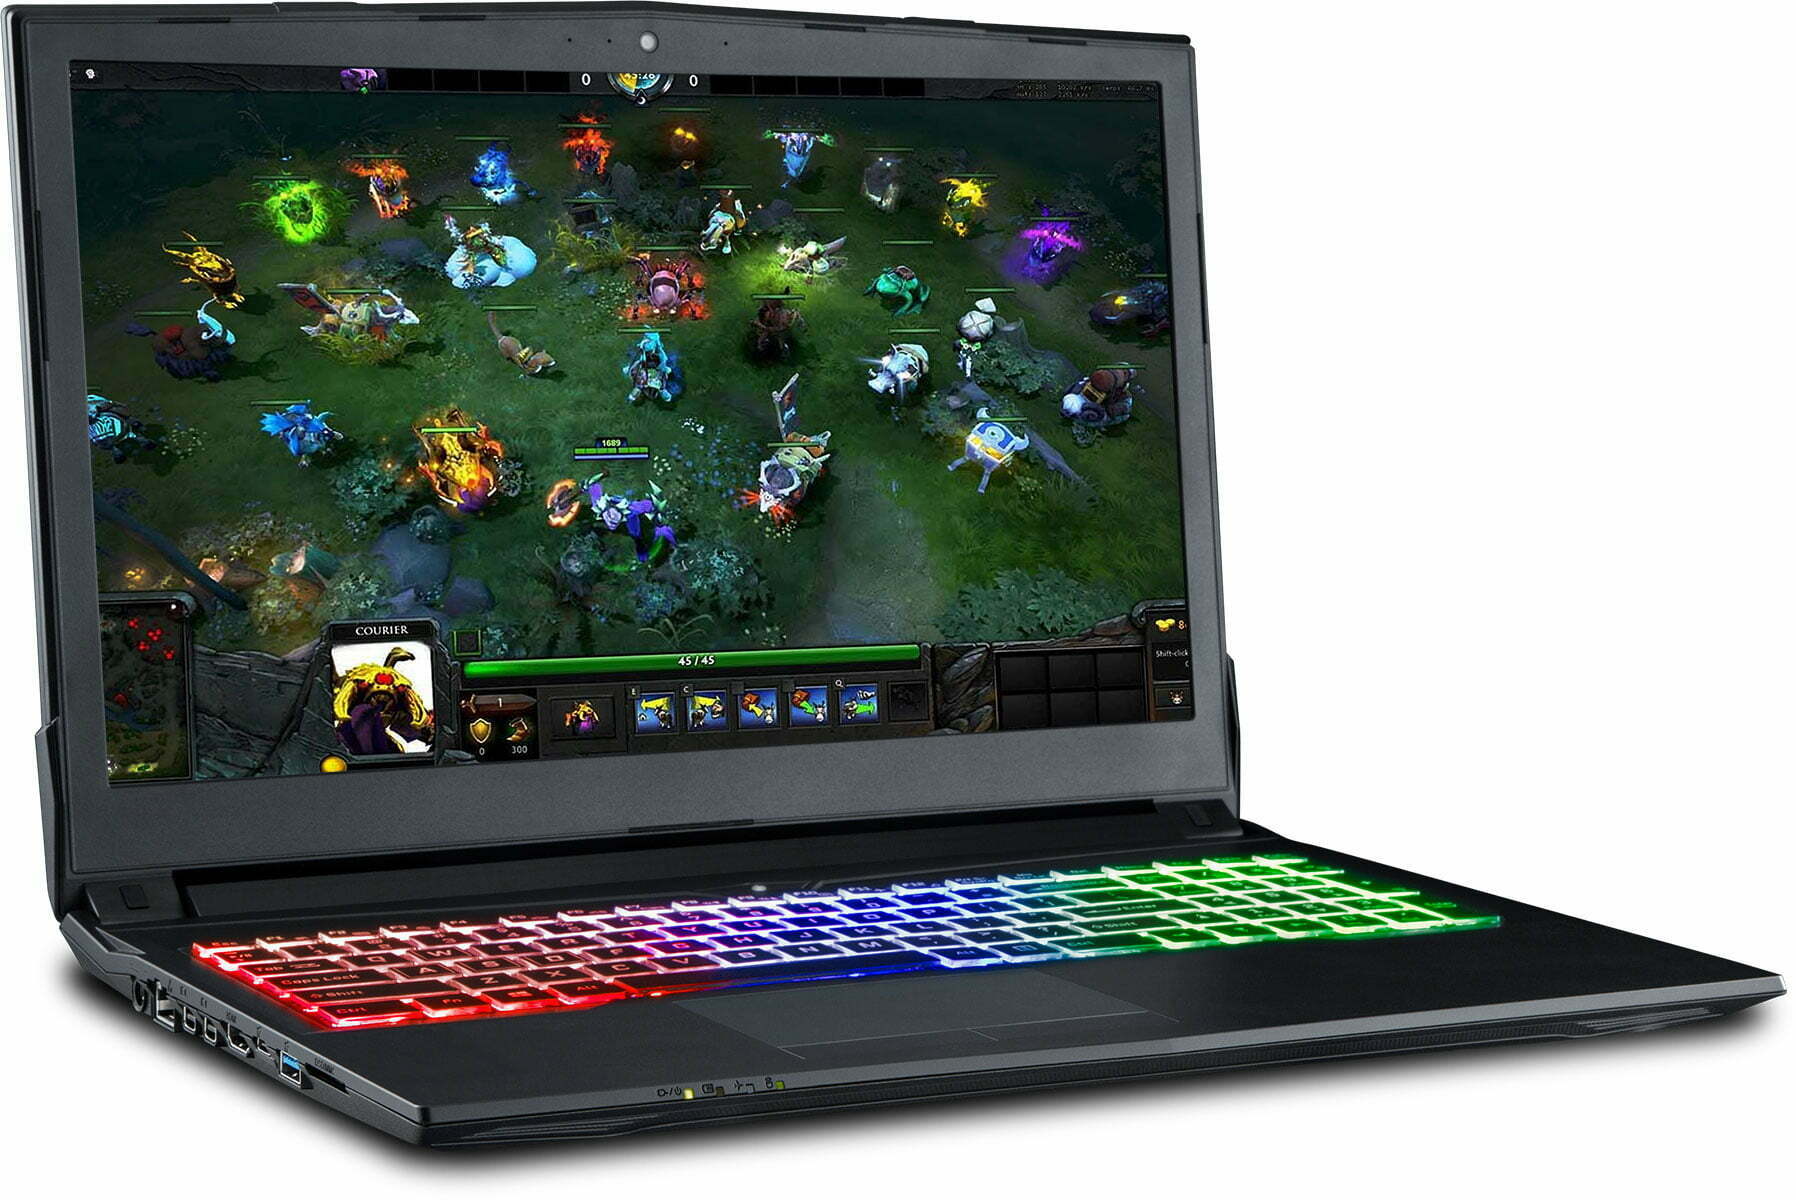
Upgrading storage in a slim gaming laptop isn’t as straightforward as in a bulky desktop, where swapping drives takes minutes.
These ultra-thin machines are engineered for portability and high performance, cramming powerful hardware into a tight, lightweight frame. That sleek design is perfect for travel and gaming, but it also makes every upgrade a precise, careful task.
Still, expanding your storage is entirely possible with the proper preparation, tools, and patience. Whether running out of space from massive game installs or growing media collections, a well-planned upgrade can give you the extra room you need.
So, get ready to explore!
1. Why You Might Need a Storage Upgrade
Gamers run out of space faster than they expect. One day you have plenty of storage, and the next you’re deleting old games to install the newest 150GB hit.
With the slimmest gaming laptops, storage feels even more important, since these thin and powerful machines are designed to be portable yet strong.
It’s not just games, videos, streaming, and creative work that take up room, too. A faster, bigger drive doesn’t just add space, it can also speed up load times and make your laptop run smoother.
For the slimmest gaming laptops, upgrading storage is an easy way to get more power without losing portability.
2. Know What You are Working With
Before you buy a new SSD, you need to know what is inside your laptop. Many people skip this step and end up with an expensive piece of hardware that doesn’t fit.
- Check the specs – Look up your exact model on the manufacturer’s website.
- Identify the storage slot type – Slim gaming laptops almost always use M.2 slots, but the interface can be SATA or NVMe (PCIe).
- See if there’s more than one slot – Some models let you add storage without removing the existing drive.
- Confirm maximum supported size – While rare, some laptops have a size limit for SSDs.
Checking your laptop’s manual isn’t just about this upgrade. You’d be surprised how often you’ll discover other neat facts, like hidden keyboard shortcuts or upgradeable RAM that you didn’t know was possible.
3. The Tools and Prep Work
Working on a slim gaming laptop can feel like surgery. Everything is delicate, so preparation is key.
- Precision screwdrivers are a must.
- A plastic pry tool can help open the chassis without scratching it.
- Use an anti-static wrist strap if possible.
Also, make sure you have backed up your data. Even if you plan to keep the old drive, accidents happen. If your new SSD will replace the existing one, have a USB flash drive ready with a bootable Windows installer or your preferred OS.
4. Steps to Physically Upgrade the Storage
Every laptop model is different, but the general process goes something like this:
- Shut it down completely – Unplug the charger, and don’t just put it to sleep.
- Remove the back panel – Keep track of which screws go where; some may be different lengths.
- Locate the SSD – Usually in the center or along one side of the motherboard.
- Unscrew the SSD’s retaining screw – It should pop up at an angle when free.
Pro tip: Many manufacturers have disassembly videos on their support pages or YouTube. Watching one for your specific model can make the job much less stressful.
5. When You Can’t Upgrade
Sometimes you’ll discover your slim gaming laptop has soldered storage, meaning the drive is permanently attached to the motherboard. In that case, internal upgrades aren’t possible.
But all hope isn’t lost. External solutions have come a long way. A fast USB-C or Thunderbolt SSD can offer near-internal speeds, and you can carry it with your laptop without much extra bulk.
It is not as neat as internal storage, but a practical workaround.
6. Setting Up the New Drive
Once the physical upgrade is complete, you’ll need to ensure that the system is ready to use the new drive.
- Format the SSD – In Windows, go to Disk Management, find the new drive, and initialize it.
- Clone your old drive – If you want to avoid reinstalling everything, use cloning software before you swap drives.
- Reinstall the OS – If starting fresh, boot from your installer USB and go through the standard setup.
- Move your game libraries—Platforms like Steam and Epic Games let you move or re-download games to a new location.
Upgrading storage often has a strange psychological effect. You suddenly feel like you have “endless” space, and before you know it, you are right back at 90% full.
Try setting a mental rule to clear unused games every few months. Your future self will thank you.
7. A Word on Warranty and Safety
Depending on the manufacturer, opening your laptop might void the warranty. Some companies are fine if you don’t damage anything, while others have seals or stickers that break when opened. Always check your warranty terms before proceeding.
Also, if you are uncomfortable upgrading yourself, a local computer repair shop can do it for you, often in under an hour.
Final Thoughts
Upgrading storage in the slimmest gaming laptops isn’t as simple as on a desktop, but it is still doable with the proper prep.
You’ll get more room for games and media, potentially speeding up your system. While it can be slightly nerve-wracking, it is a great way to extend the life and usefulness of your device without buying a whole new machine.
Sometimes, tech upgrades feel like magic; one day, you tiptoe around low-disk warnings, and the next, you install massive games without a care. If you take your time, be careful, and double-check compatibility, you can enjoy that magic without a trip to the repair shop.

