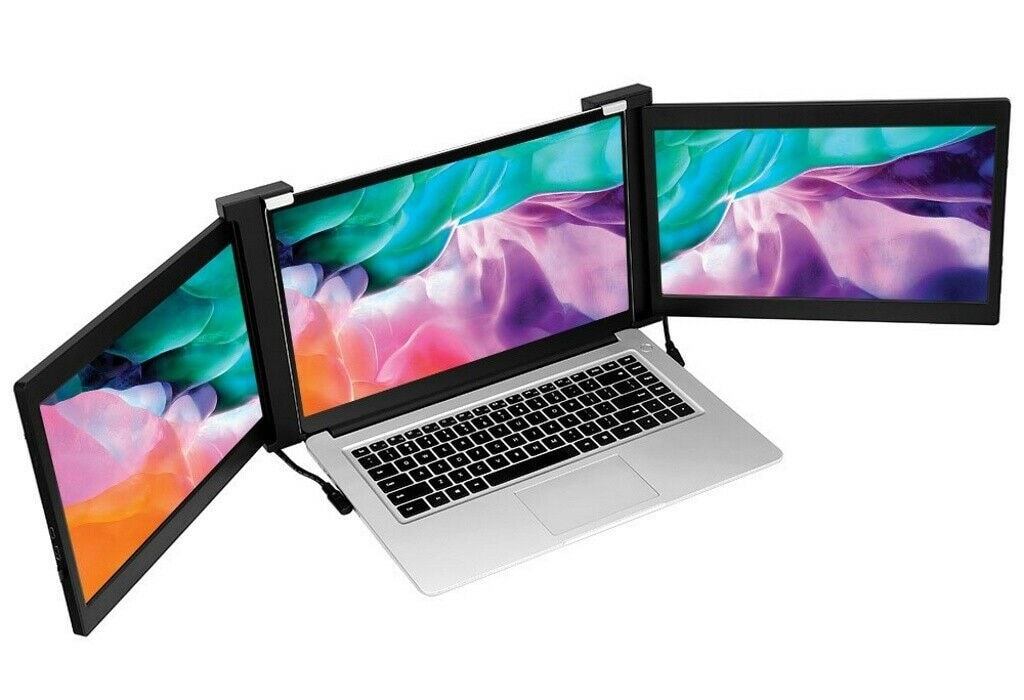
For modern computing users, portability is among the major priorities when looking for a PC. And why not in today’s busy world, where you need to frequently travel from one place to another, and you want devices that can be set up anywhere, anytime. When talking about portable devices, portable monitors are gaining popularity among students and professionals, particularly those who need a second screen for multitasking.
As per a report, the global market for portable monitors is on the rise, with expectations to surpass $184.9 million by the end of 2025.
Portable monitors can be set up anywhere, whether you connect them to a desktop or a laptop. But how easy is this setup? Well! Modern portable monitors require minimal installation. To help you get a better idea, here are some of the essential things you need to take care of!
Why Portable Monitors Are Becoming A Go-To Choice?
The growing demand for flexibility and convenience makes portable monitors for laptops a go-to choice for professionals and individuals alike. These are particularly used for multitasking, a second screen to boost productivity at various levels. Some of the main reasons for their growing popularity include:
- Super-lightweight, easy to carry anywhere.
- More workspace where you can work with multiple windows simultaneously.
- Easy setup, just plug in and start working.
- These are mostly compatible with all devices, even smartphones.
Step 1: Check Your Laptop and Monitor Ports
Before you connect a portable monitor, you must check the ports on your laptop. This helps you know what cable to use.
- Look for HDMI ports
- Check for USB-C ports
- See if you have a mini HDMI port
- Some older laptops may only have VGA ports
Your portable monitor will also have its own port options. If your laptop and monitor have the same type of port, then you can connect them directly. If not, you may need an adapter.
Step 2: Choose the Right Cable
The cable is the bridge between your laptop and your portable monitor. Using the right one makes the connection quick and smooth.
- For HDMI ports, use an HDMI cable.
- Similarly, for USB-C ports, use a USB-C to USB-C cable.
- For mini HDMI, use a mini HDMI to HDMI cable
Make sure the cable is in good condition. A damaged cable can cause the monitor to flicker or not display anything.
Step 3: Connect the Monitor
Once you have the right cable, you can connect your portable monitor.
- Turn off your laptop.
- Plug one end of the cable into the laptop.
- Plug the other end into the portable monitor.
- Turn on the monitor.
- Turn on your laptop.
Adjusting the Angle
Portable monitors often come with stands. Adjust the stand so the screen is at a comfortable angle. This makes it easier to work or watch videos without straining your neck.
Step 4: Set Display Preferences
Once you’ve connected the monitor, you may want to set up your display settings to customize it to whatever way you want to use it.
- Go to your laptop display settings.
- Decide whether to extend or duplicate the display.
- Fix the resolution as needed.
- Turn the display if you would like a vertical screen.
Extend vs Duplicate
Extending gives more space to put different apps on each screen; duplicating shows the same thing on both screens. Choose the one that suits your work or activity best.
Step 5: Powering the Portable Monitor
Some portable monitors can extract power from a cable along with video. Some need a power supply of their own.
- USB-C monitors often get power and video from one cable.
- HDMI monitors may still require a USB power cable.
- Some of the portable monitors come with rechargeable batteries for travel.
If additional power is needed by the monitor, connect it with a power bank or wall charger, so it stays on throughout its use.
Tips to Make Setup Even Easier
Even though the setup is already simple, there are small tips that can make it even faster.
- Keep an extra cable in your bag.
- Label your cables so you know which one is for your monitor.
- Save your preferred display settings so you do not have to adjust them every time.
- Charge any built-in battery before travel.
Conclusion
Setting up a portable monitor for laptops is simple and quick. You just need to check your ports choose the right cable, connect the devices, and adjust the settings. Most steps take only a few minutes.
Once you know the process, you can do it anywhere. This makes portable monitors a great choice for students, workers, and travelers. The extra screen space improves productivity and entertainment.
A portable monitor is more than just a tech gadget. It is a tool that can make work easier and make fun more enjoyable. And the best part is you do not need to be a tech expert to set it up. With the right steps, you can start using it right away and enjoy the benefits without any stress.

